Getting Motorcycle Sounds (Haro Racing) - Part 2/2

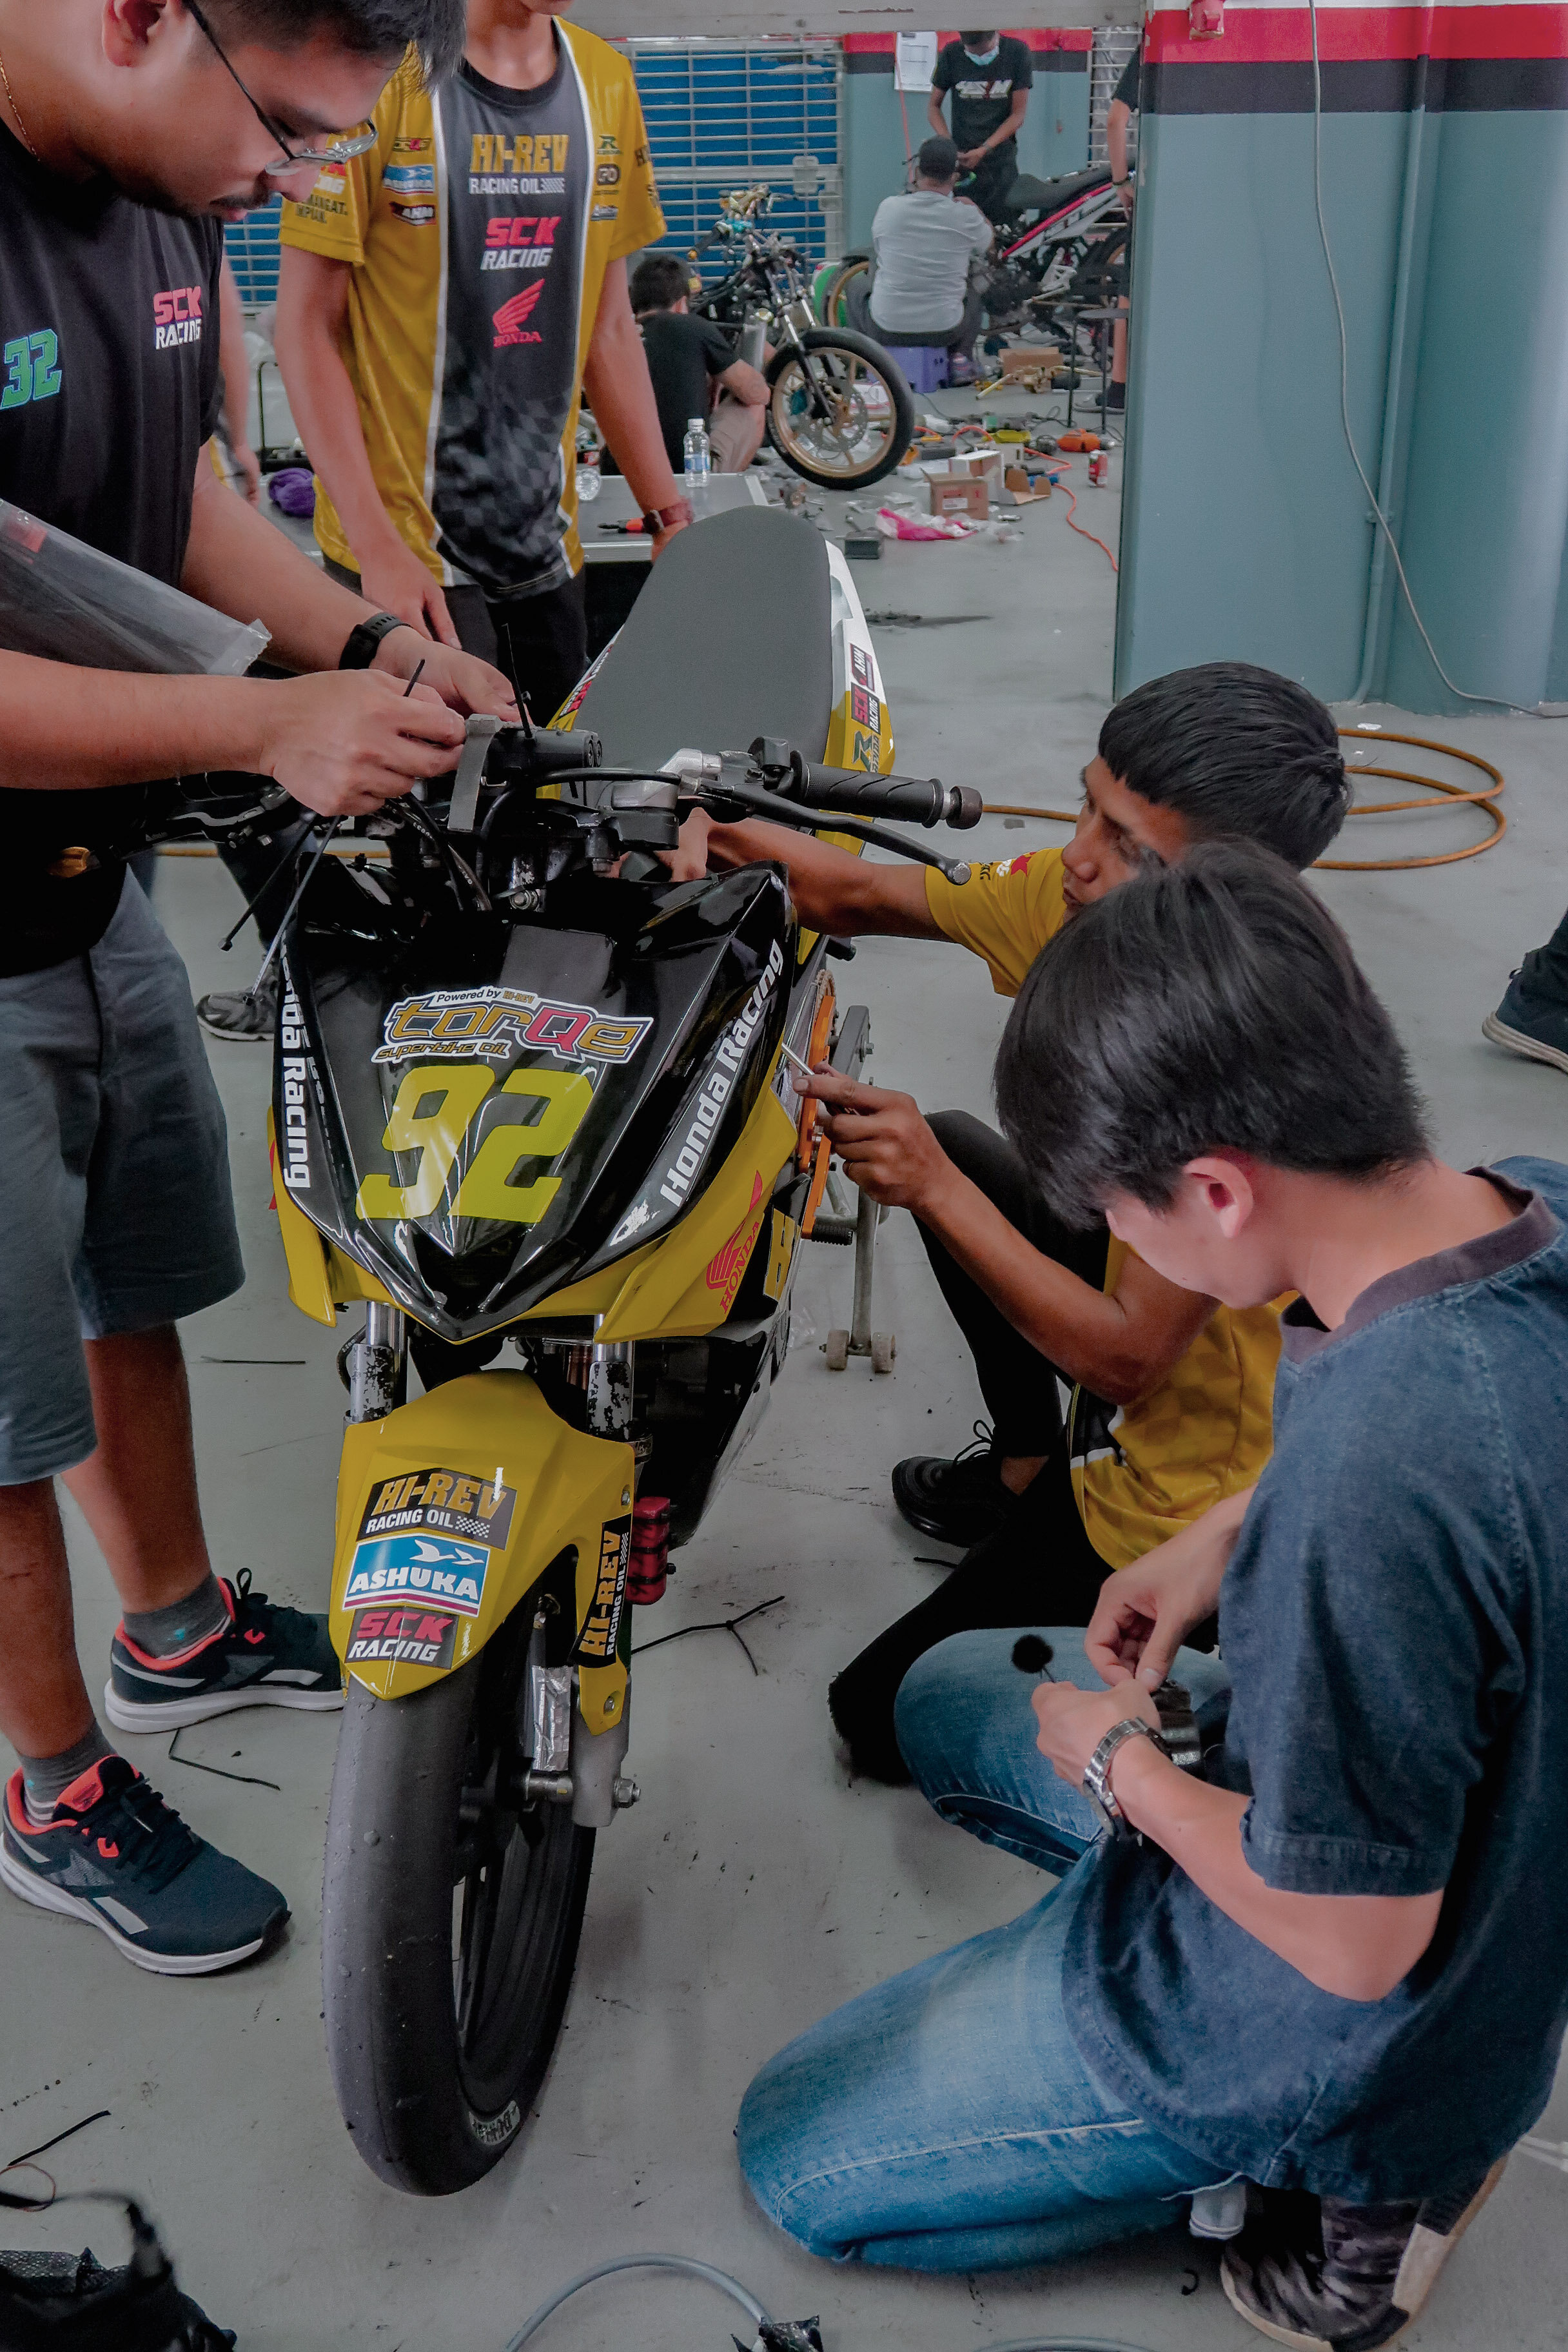
The pit crew checking for safe release.
This is Part 2 of 2 of “Getting Motorcycle Sounds (Haro Racing). If you’re looking for Part 1 - click here.
Last time we touched on the research and the prep-work done before the actual recording day. Pre-prod if you would for you film crews out there. This time, we get to finally record the bikes!
2 main things we’ve learnt previously.
1. Our selected microphone needs to withstand high SPL levels of a combustion engine.
2. The smaller the rig, the better!
Ok ready set, let’s go.
It was a typical day in Malaysia. The landscape was interrupted by the sound of high cc motorbikes doing their practice runs. I joined up with the team from Gameka and we hitched a ride at the trunk of a Hilux and headed to the garage where our motorbikes were at.
I met with Yao the head of engineering and discussed on where to rig it. I told him it would be best where I can mount it where there is dead air (basically where there’s a pocket of still air/minimal air movement). We figured out that we can mount the mic right at the back of the data logger while still be able to run a wire to my Zoom H5 that can be mounted underneath where the telemetry would be if were a consumer kapcai.
Yao helping me secure the recorder using zip ties while I prep the microphone.
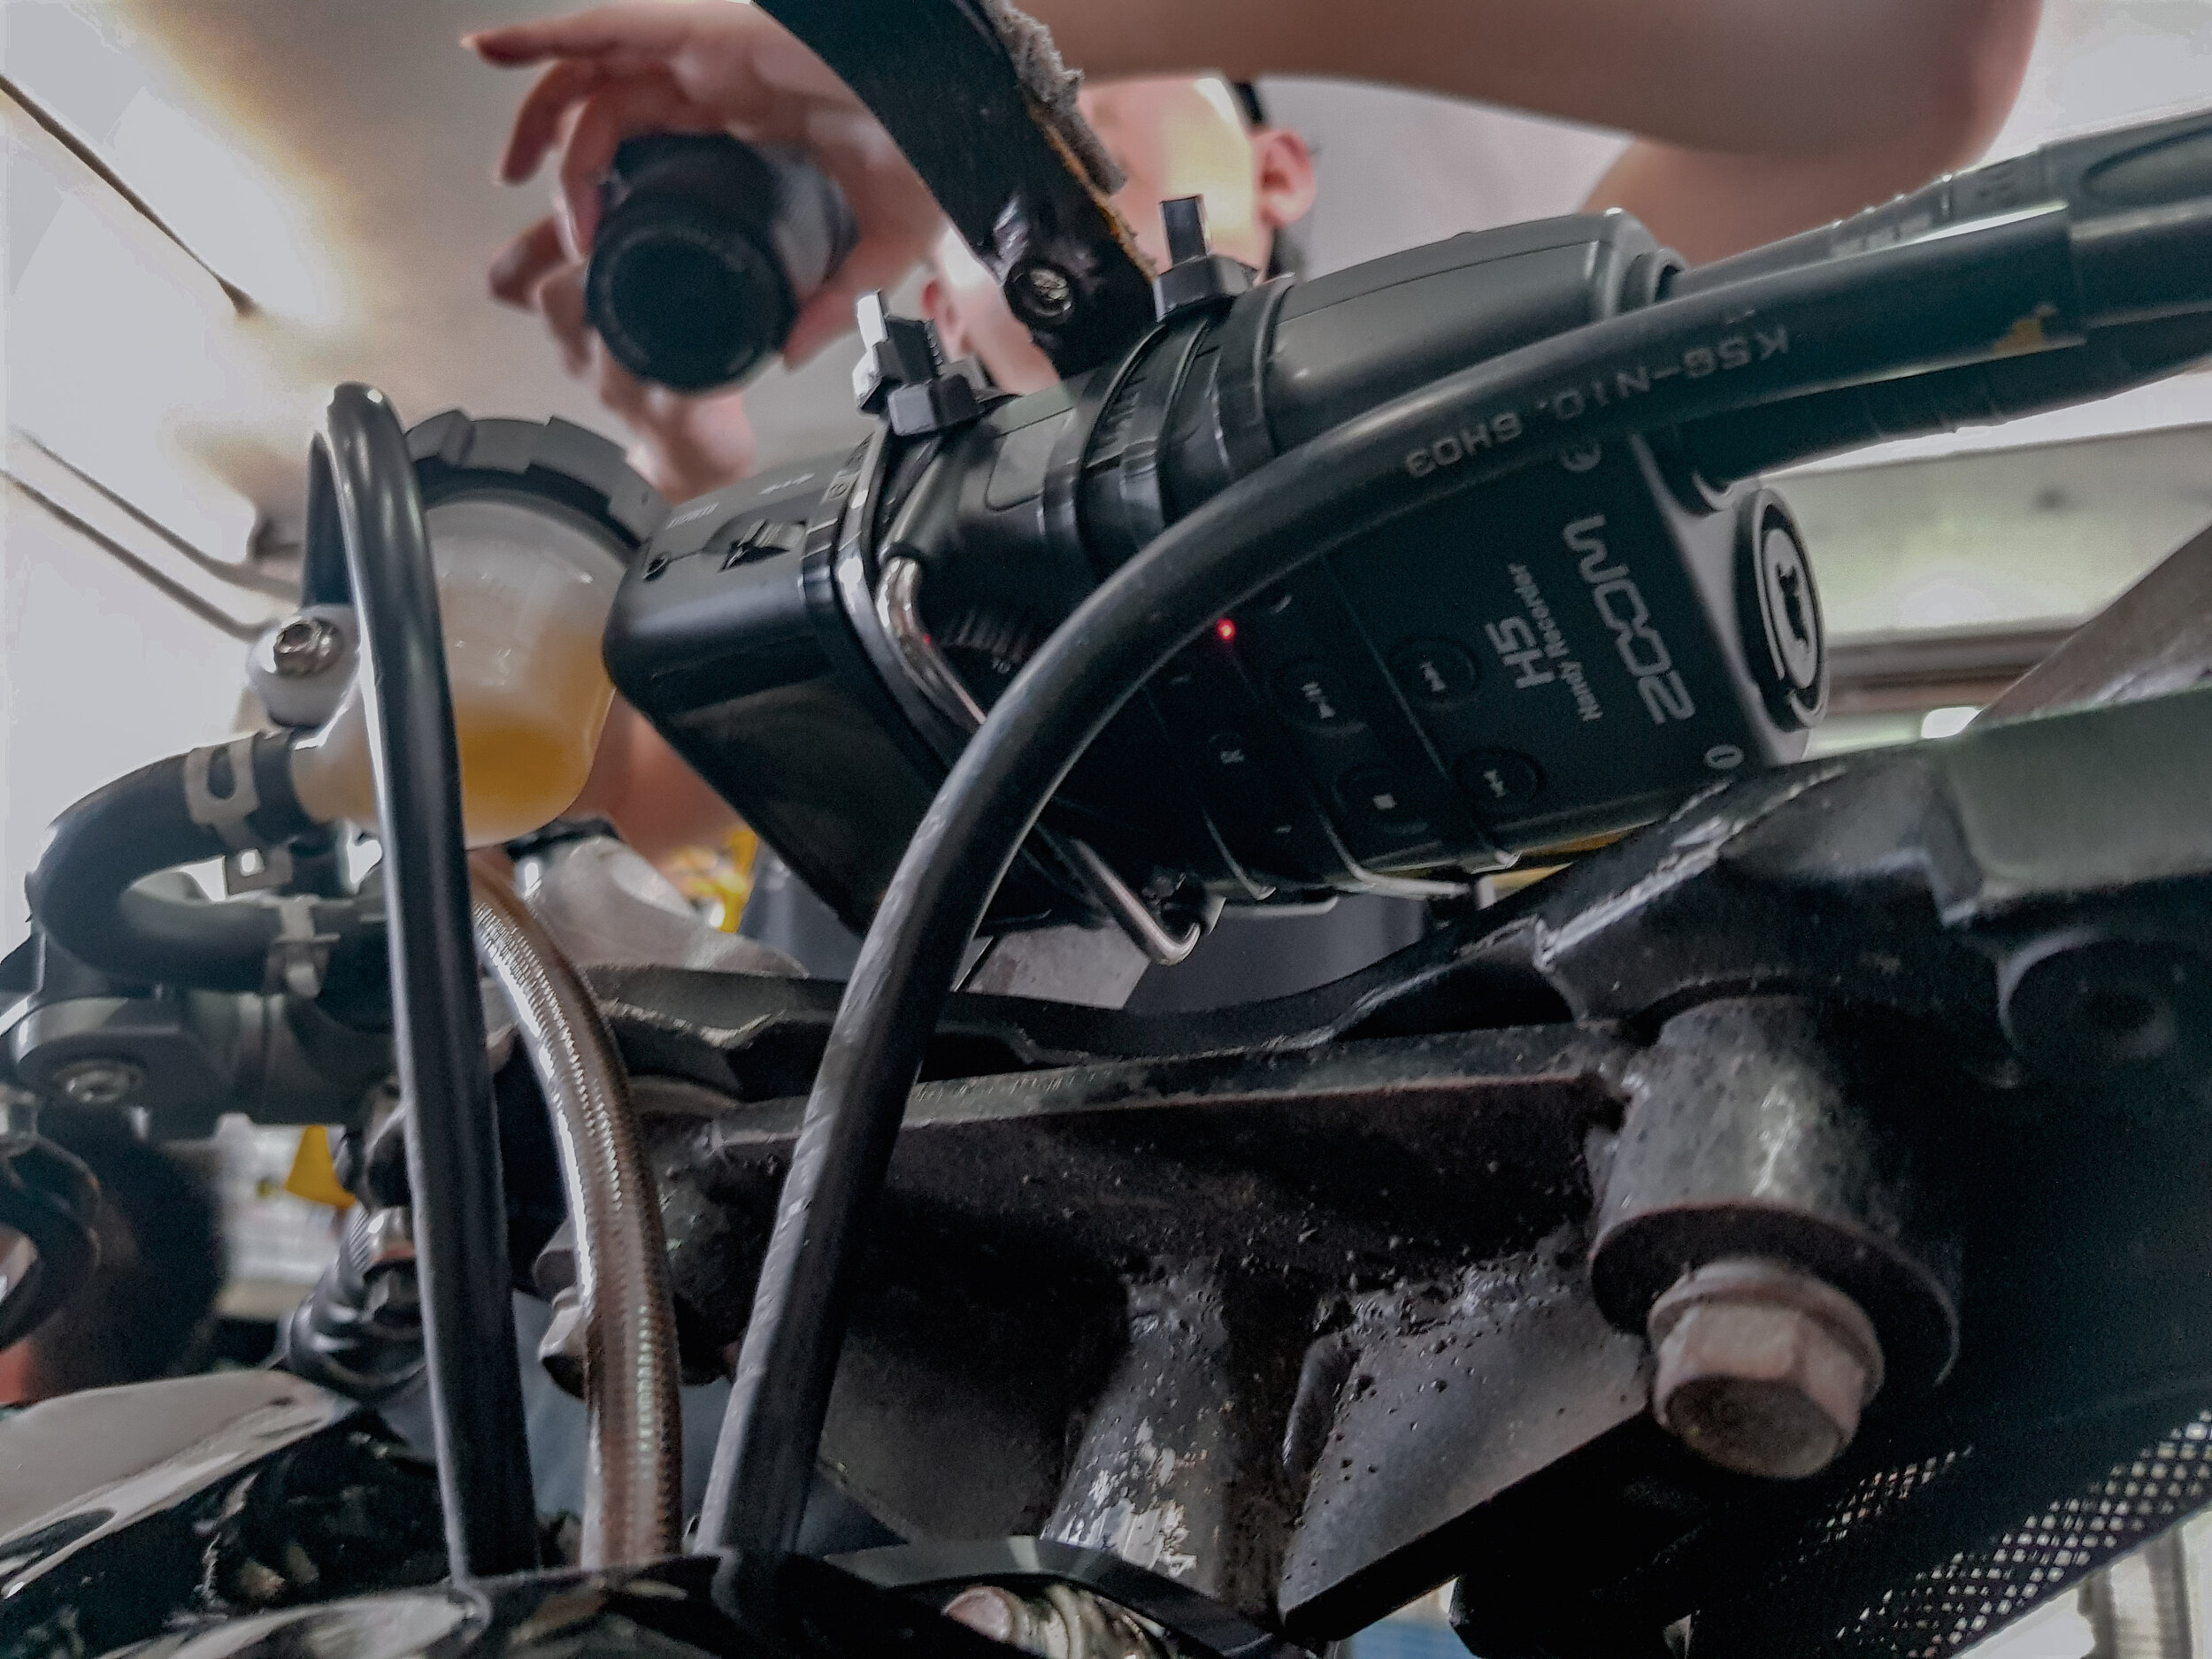
H5 from the bottom when I was checking levels.

We mounted our H5 to the frame with a couple of zip ties. Yao also noted that I should start thinking of my gear as a perishable now since he can’t guarantee the gear in the event of a crash. I’m aware and my excitement towards getting the sound of the motorbike overrides those worries.
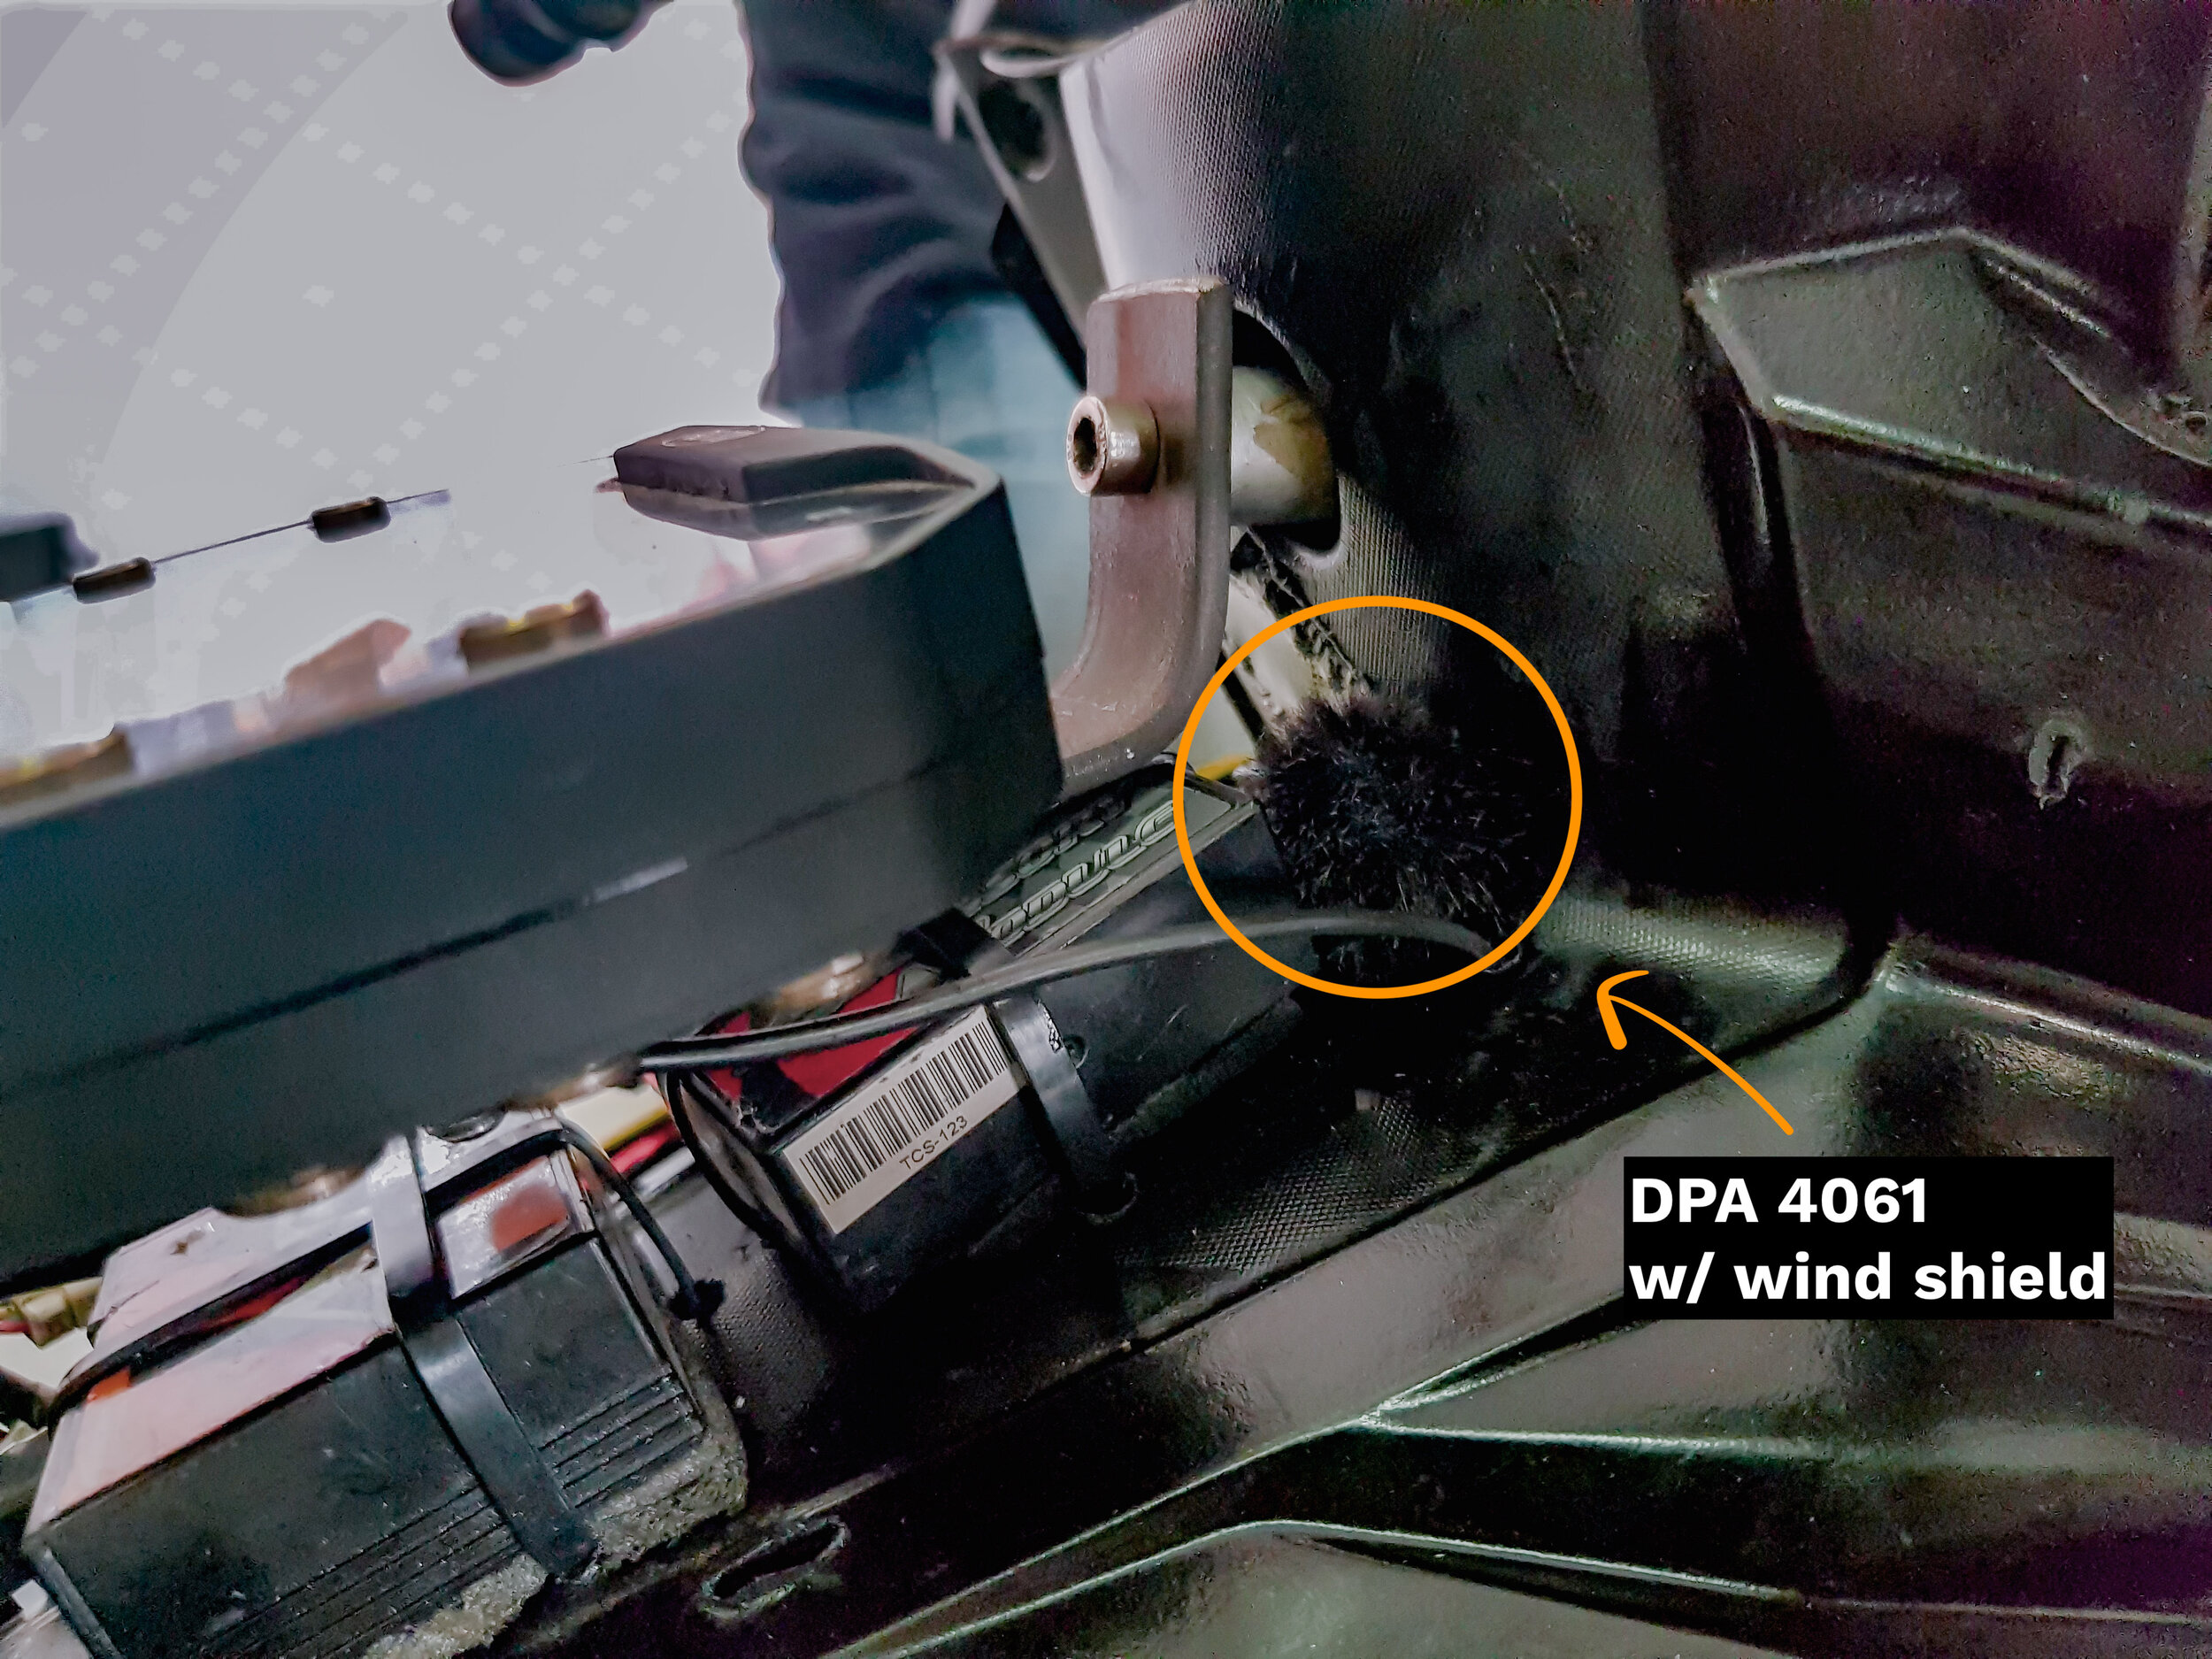
Microphone mounted behind the data logger. Wind shield added on.

This is where I just realised that I couldn’t mount the microphone at that spot because I can’t find enough space to tape.

So final position was at the side and mic is secured using a piece of cloth tape.
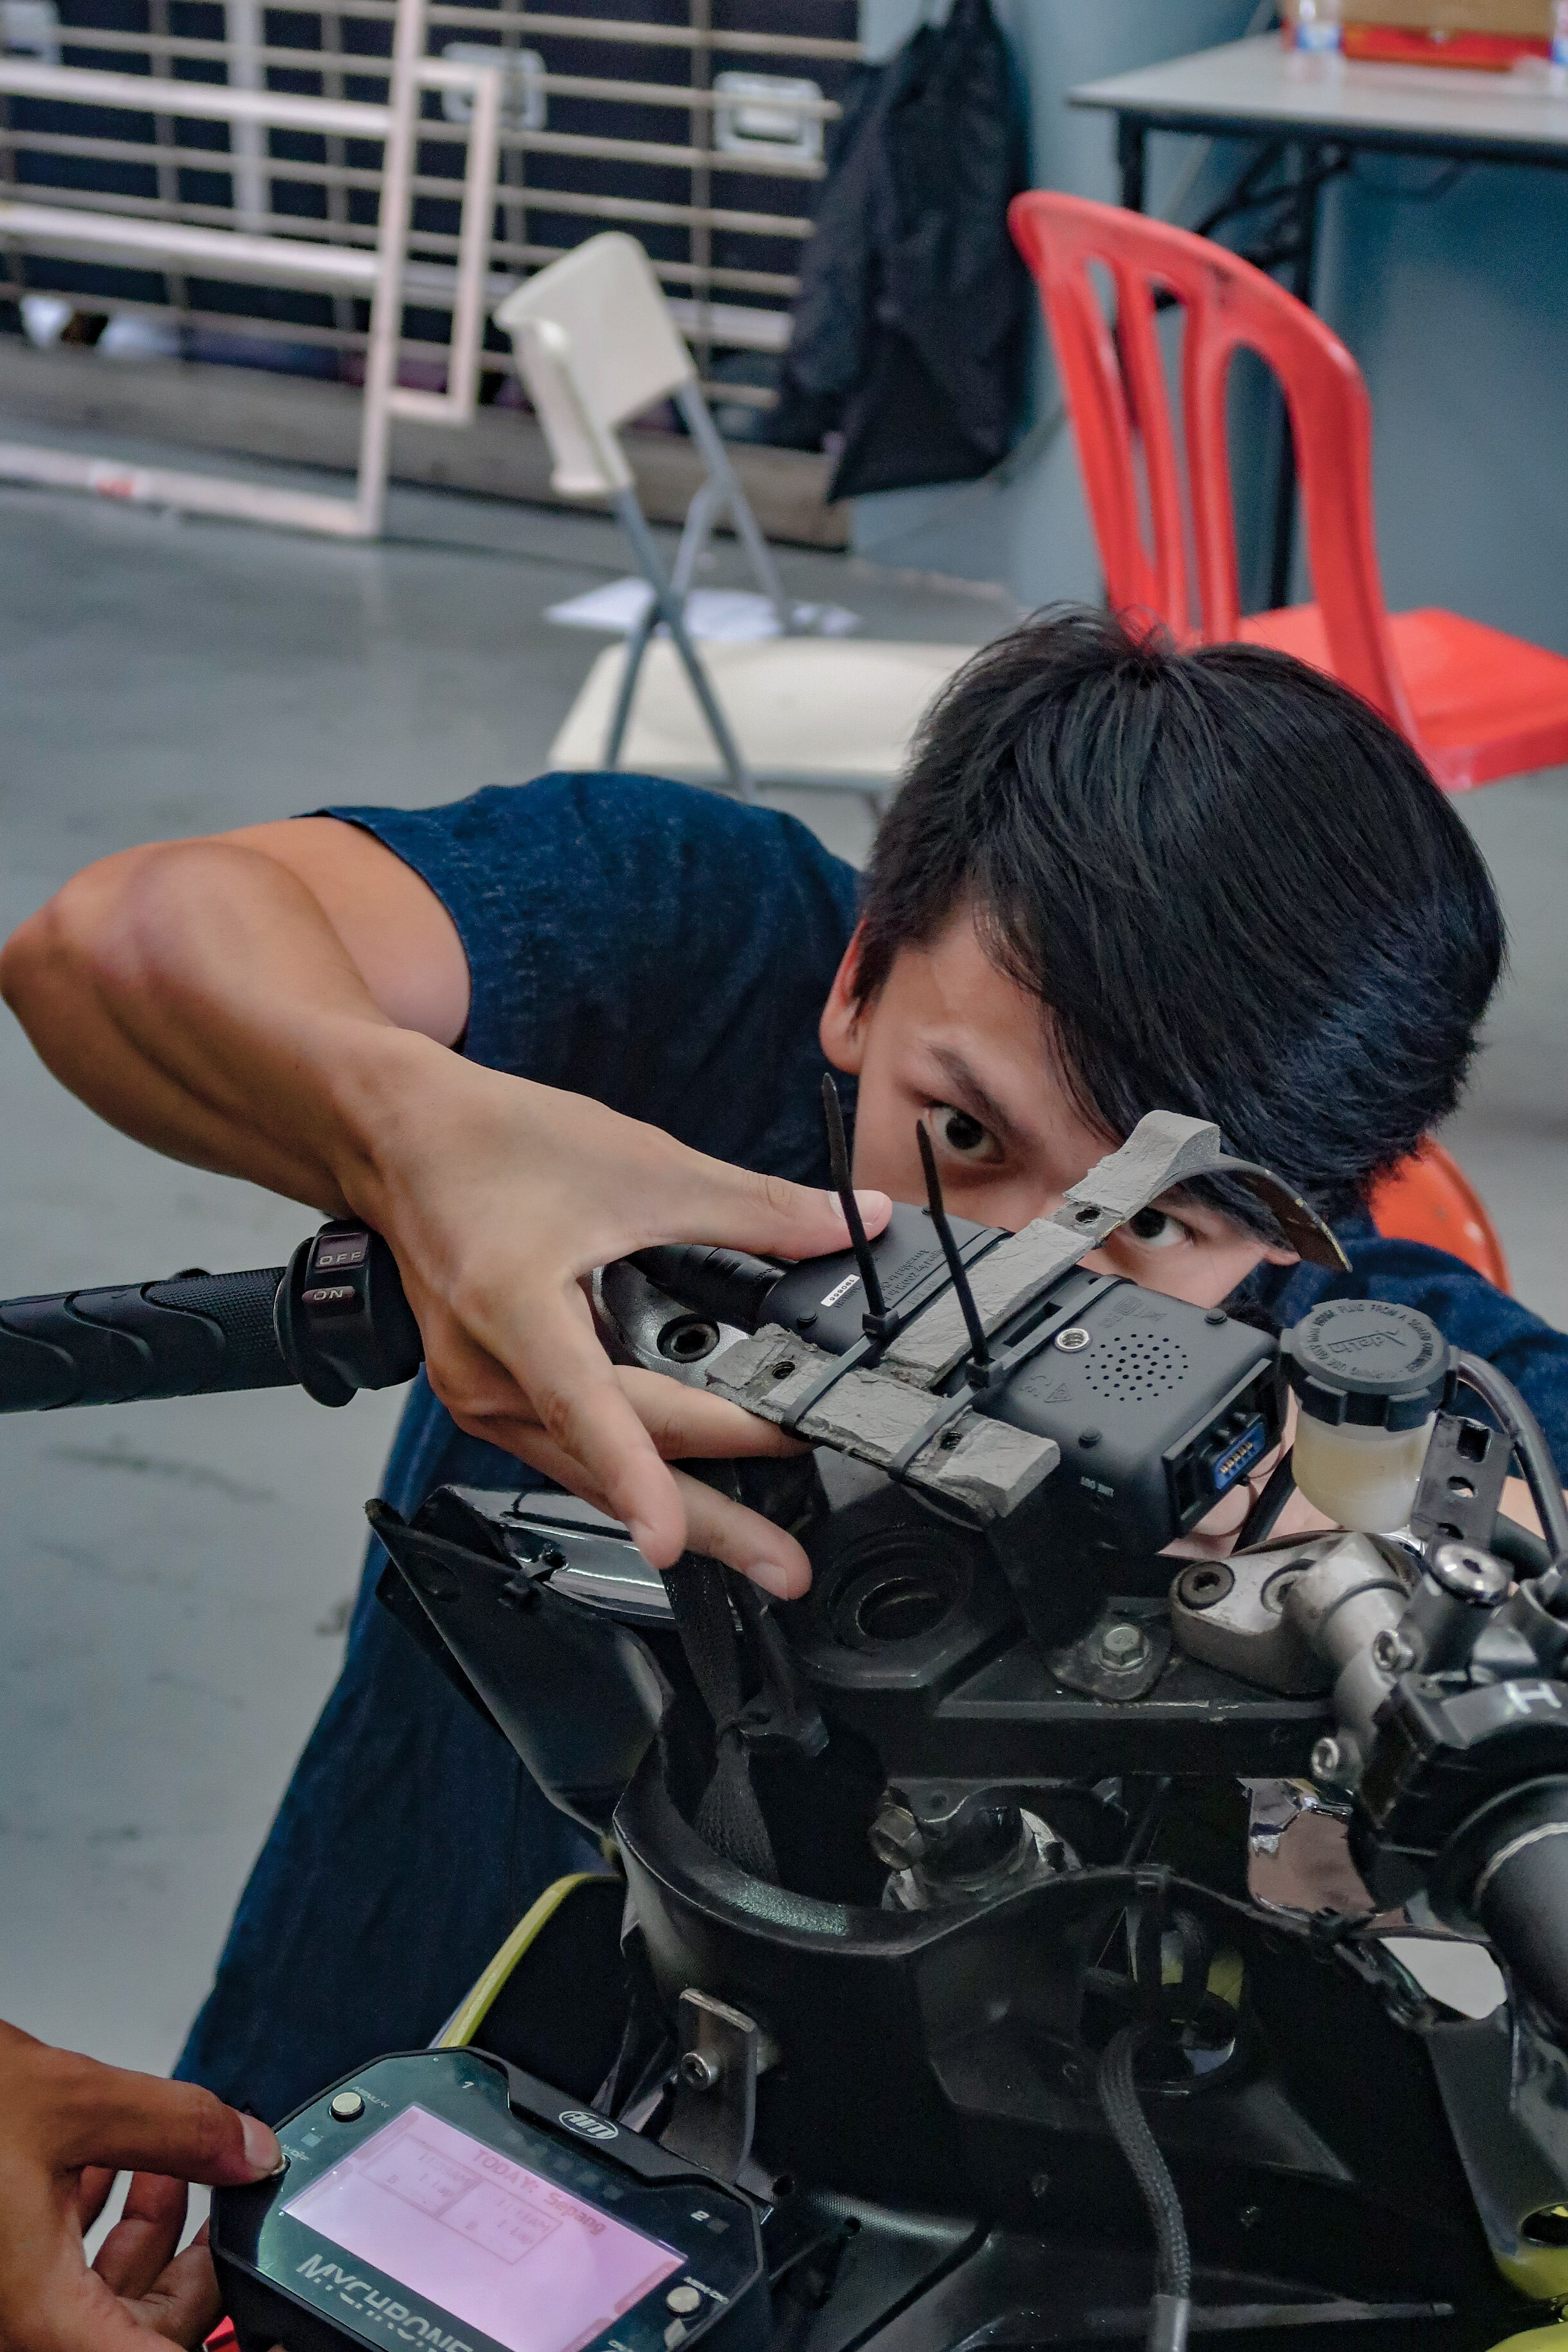
Connect the mic, feed it power and ready to check levels.
Now I couldn’t test levels while in the pit lane as there are rules against revving in the pit garage. So I had to take a leap of faith, and snapped my fingers right up the capsule to simulate the extreme spl that it was going to be exposed to. I think i’ve ended up running the gain at 1 (the max on the dial is 9) so at absolutely the lowest setting, any lower and gain was at 0.
Play the gif below with sound to hear how loud it gets
We mounted the H5 facing down as we are unable to mount back the dash cover if we mounted it right side up. This also allowed me to access all my controls even though it was a hassle to reach for it.
As for battery, we only turned the H5 on only when we are close to prepping for a run.
Other than that, it’s pretty much set it, leave it and hope for the best.
Oh also, i’ve decided to use the H5 over my F6 just because the form-factor fit better in under the hood. There wasn’t going to be any space in under the seat.
Here’s an overview of the whole setup.
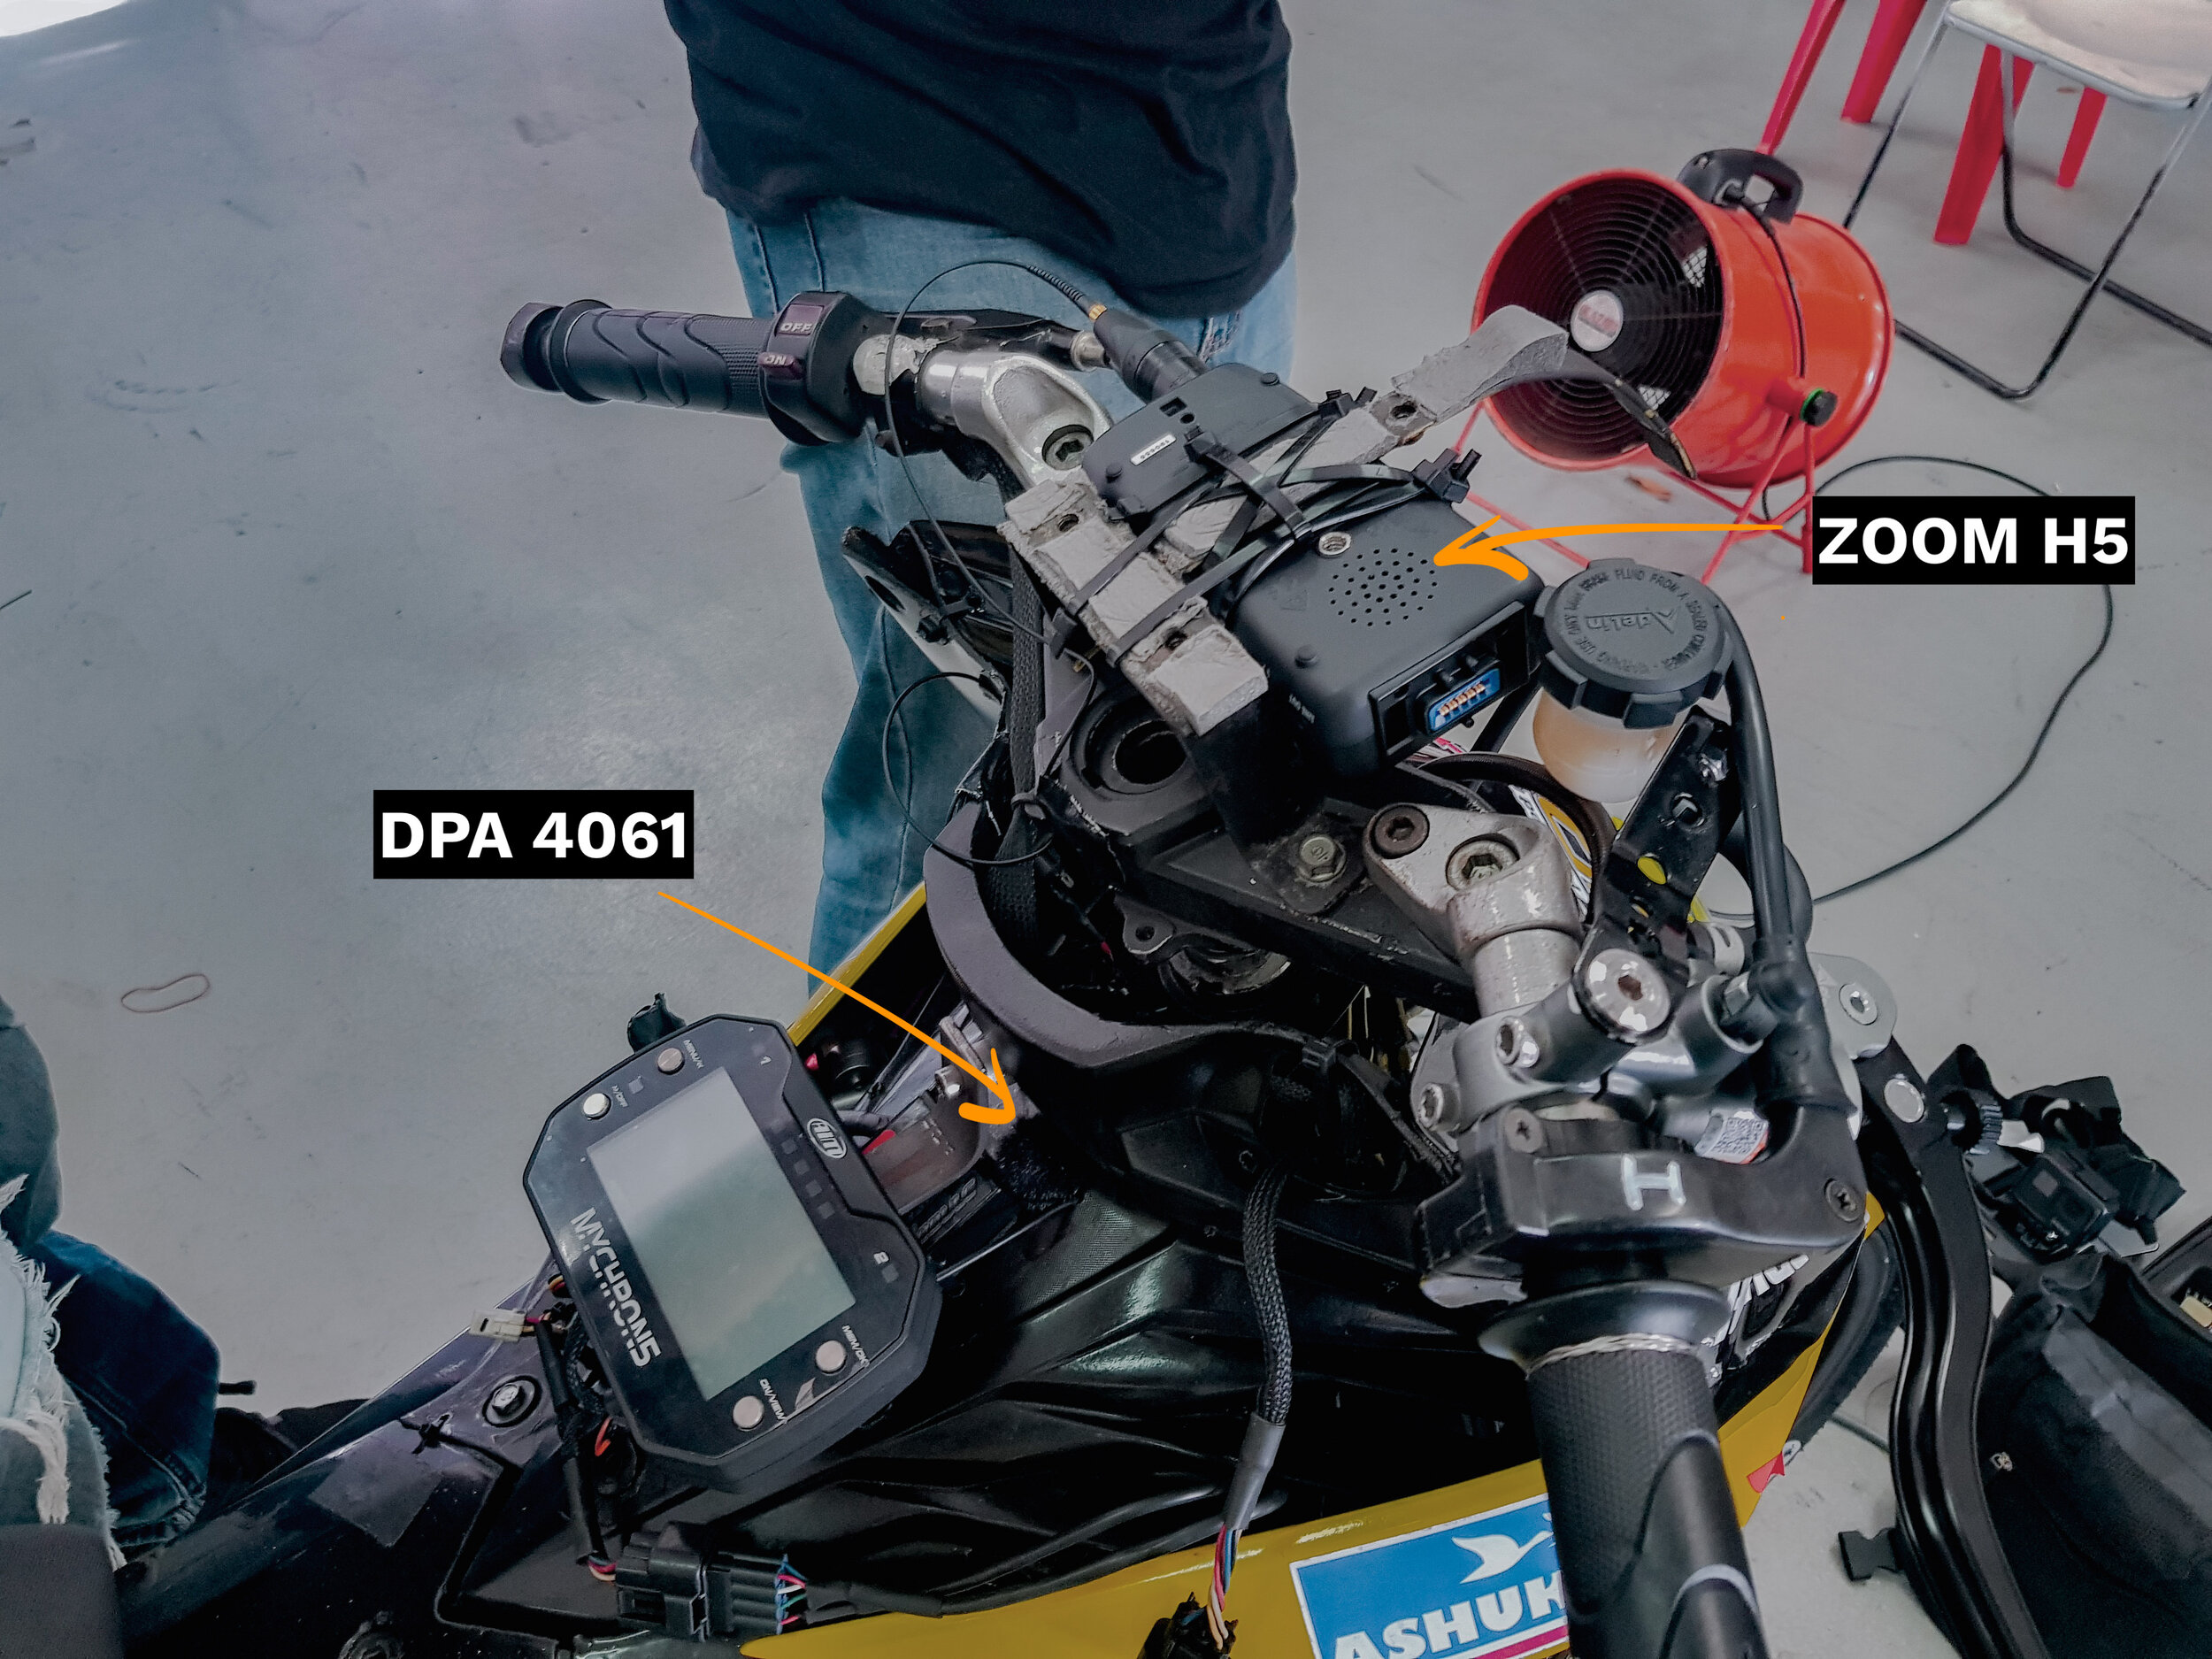
Overview. DPA 4061 into Zoom H5
There were two practice sessions. One around 2-3pm and the other was around 5-6pm. We had time so once we’ve set them up. We went ahead to the pit lane to watch the other sessions.

Joanna and I, delighted to see the speed in person.
1000cc is in session!
I dare say that these bikes sound better than the current F1 hybrid era.
Oh it’s our turn now 150cc!
The speed difference is immense!
During the session, the riders are called in for a pit-stop to get rider feedback and a tyre change.
This pit crew is insane. I mean just look at them, changing tyres while they’re hot without wearing gloves. I’m sure they know where their limits are!
Once that’s done, it was quite a while before a safe release happens as they wanted to wait for the traffic to die down a little.
And off they went for another 15 minutes before the session ended.
So what did they sound like?
Two things that I was worried about.
1. Audio clipping due to gain staging
2. Wind buffeting against the microphone.
None of them happened.
While the audio file had about -3db of headroom, I still believe (can’t prove it though) that the DPA was exposed to spl levels slightly above it’s rated spl input pressure. However, anymore beyond it would be a niche application and budget wasn’t able to satisfy the need so this is a great compromise.
So in the end I was pretty pleased with the results. The cherry on the cake was that the Cub Prix organiser was around and we let him listen in and he too was pretty pleased at it. Yao chimed in too and mentioned that it sounded pretty close to him riding on it.
Once we’ve wrapped up, I quickly went through the audio and spliced together the closest 0-redline run that I can get so have a listen!

how it looks in spectrogram
If you made it this far, thanks for reading!